
Have you ever wondered exactly which settings to choose to get the best video out of your DSLR or mirror less camera? In this video, I walk you through step by step and show you on cameras from Canon, Nikon, and Panasonic. You'll learn how to get the videos in the right format for editing so tools like Photoshop can work with the files.
This movie is part of a new series we're launching to help photographer's get up and running with video. We'll have a few posts a week to help you expand your skills. Let us know what you want to learn in the comments below.
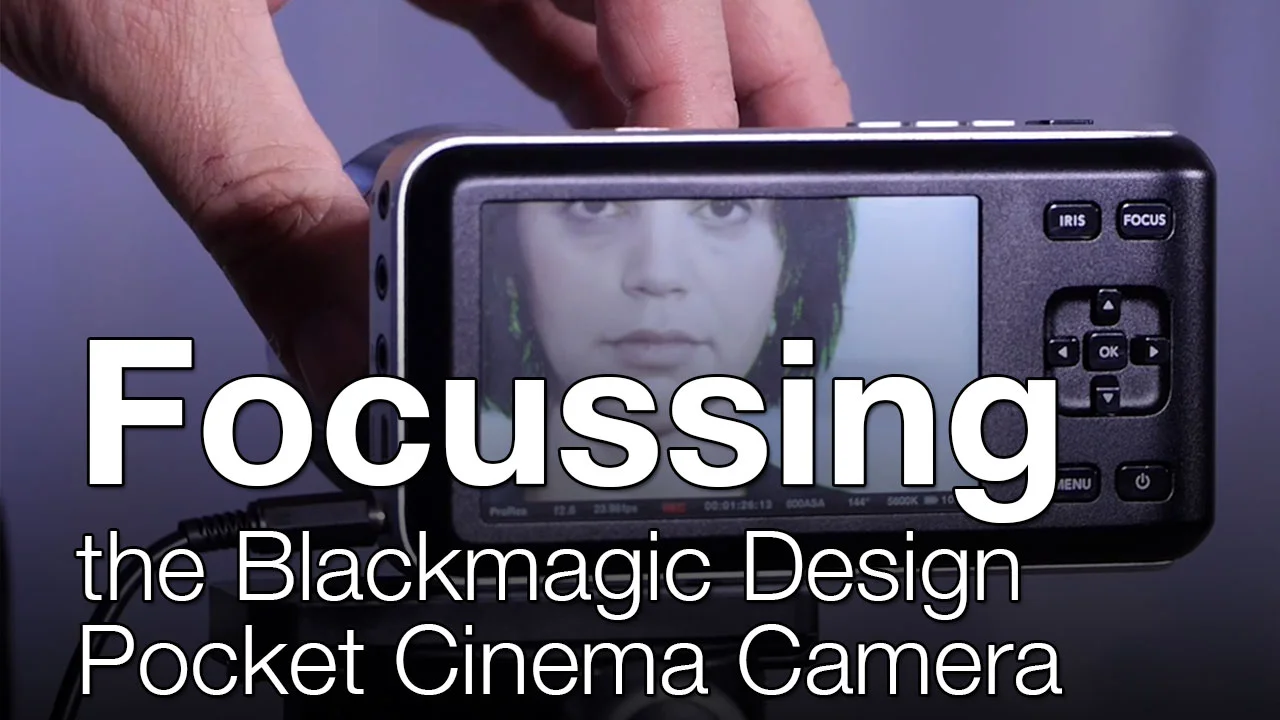
How to Focus the BlackMagic Pocket Camera
One of the my favorite digital cinema cameras is the Blackmagic Pocket Cinema Camera. This little beauty can capture a very pretty image, but focussing can be a bit tough. After all, if a shot is out of focus, it's unusable. Explore how to achieve focus with Blackmagic cameras in this tutorial.
This tutorial is a single movie from the Shooting with Blackmagic Cameras course. The complete course is 3 hours and 48 minutes and explores the features of the popular Cinema and Production 4K Cameras, so you can decide if a Blackmagic camera is right for you.
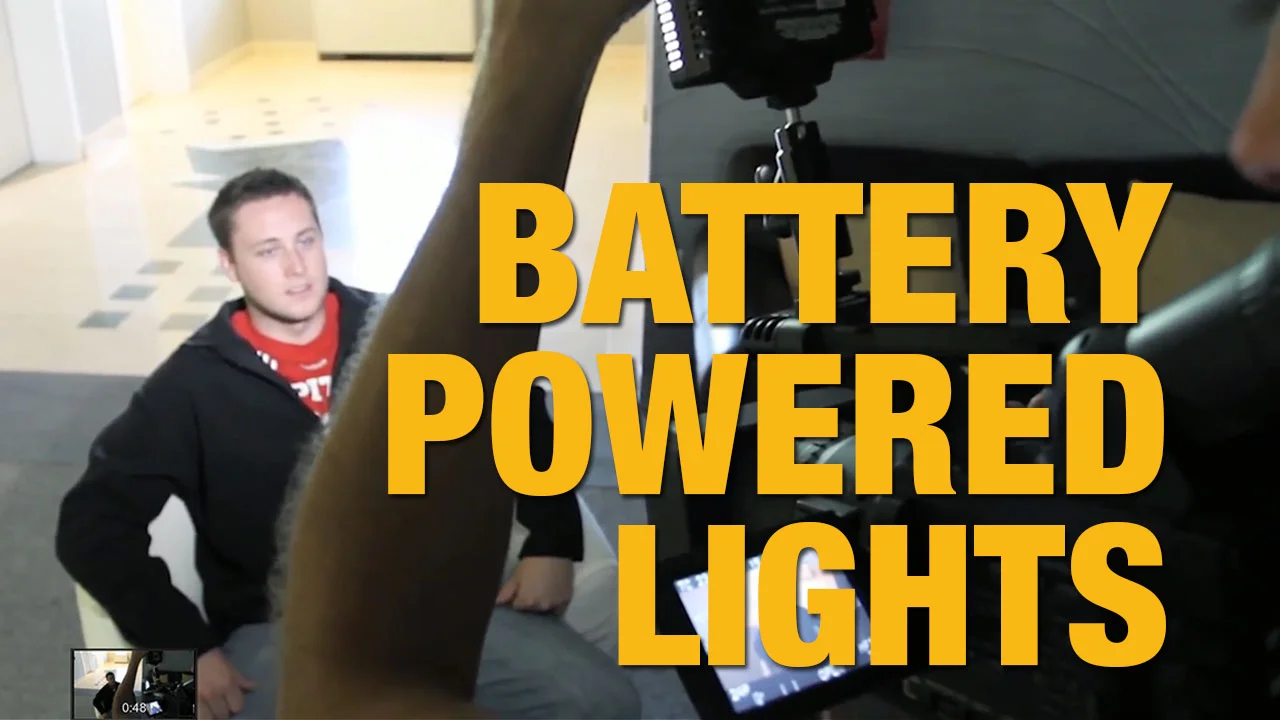
Using Battery-Powered Video Lights
Lighting options that don't require electric power cords are always welcome. In this tutorial I'll explore some benefits and workflows when using battery-powered lights on a video set.
This specific tutorial is from the Video Gear Weekly series presented by lynda.com authors Rich Harrington and Robbie Carman. The complete course is presented as a weekly lynda.com series and offers reviews and tips on the latest video gear, from cameras like the Blackmagic 4K and GoPros to lighting, accessories, and adapters.

How to Fill a Logo or Text with a Pattern
A great way to communicate a mood in your logo or typography is through nesting different kinds of textures. Find out how to fill a logo with a pattern in Photoshop in this tutorial. Thanks to layer styles, this effect is fast and easy.
This tutorial is a single movie from the Motion Graphics for Video Editors: Creating Animated Logos course by lynda.com author Rich Harrington. The complete course is 2 hours and 33 minutes and shows how to create an animated logo with After Effects, and get the motion graphics experience you need to succeed as a freelance video editor.
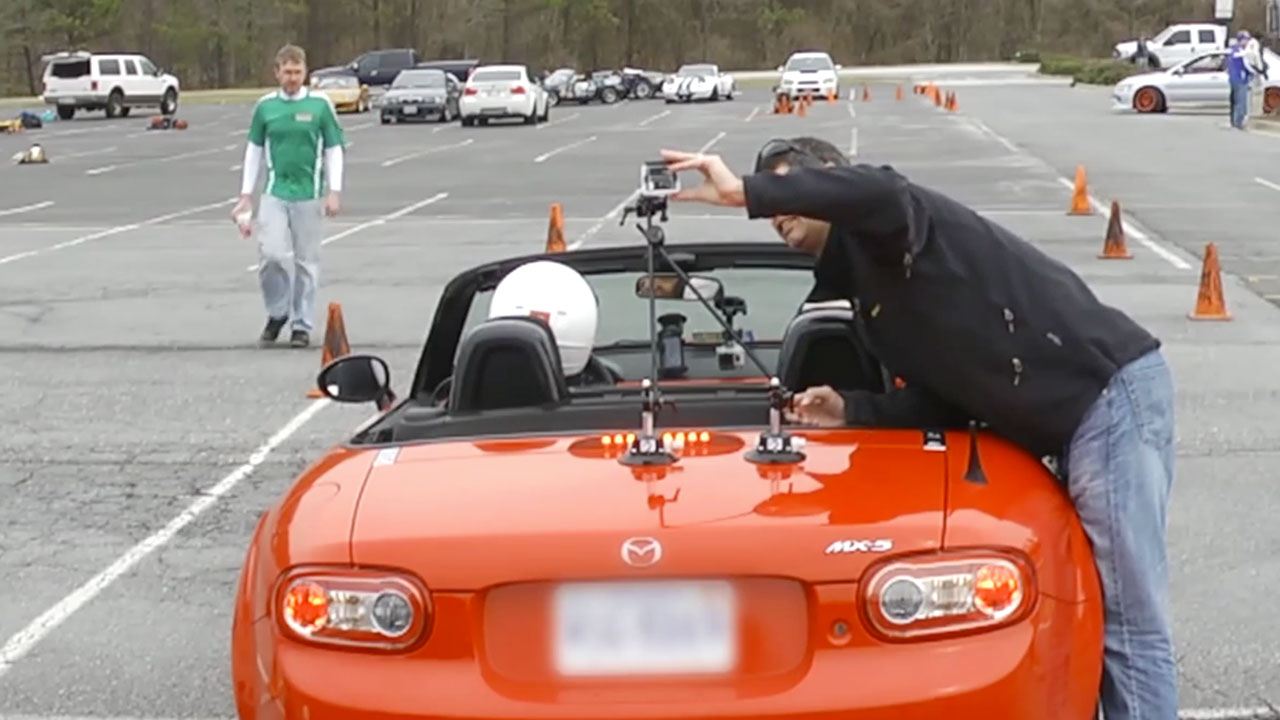
Attaching a GoPro Camera to a Car
Take advantage of all that the GoPro HERO has to offer: learn how to get unique, interesting angles for your shoots when working with a car in this tutorial. Watch more athttp://www.lynda.com/Photography-Came.... Thanks to LensRentals.com for the gear support as well.
This tutorial is a single movie from the Shooting with the GoPro HERO: Car and Motorcycle Mounts course by lynda.com author Jim Ball & Rich Harrington. The complete course is 1 hour and 28 minutes and shows how to grab dramatic video and photos with your GoPro HERO camera by mounting it to a car or motorcycle.
Seeing Effect Interfaces in the Audio Track Mixer in Premiere Pro
Over time, Adobe Premiere Pro CC has made it a lot easier to work with custom audio interfaces and complex effects. This applies to the Audio Track Mixer as well. There are many cool things you can do in the Audio Track Mixer including combining multiple effects, and we’ll explore how some of these work in this course.
Improved Audio Workflows: Seeing Effect Interfaces in the Audio Track Mixer
To learn more, I’ve created an exciting course called Premiere Pro: Creative Cloud Updates, for Lynda.com
Adobe Premiere Pro CC has some very exciting new features and updates. It’s important to stay on top of these new features so you can maximize your experience and workflow as you’re in post production. This course is dedicated to the video producers and editors who need to leverage the latest Premiere Pro tools and techniques fast. I will cover all of these new features, which include: a customizable user interface, quality and format improvements like the enhanced Mercury Playback Engine, timeline tricks, and media management techniques, and the best audio, multicamera, and closed captioning workflows.
Topics in this course include:
- Switching between audio waveforms and video
- Creating a new sequence
- Integrating scripting with the Story panel
- Working with different camera formats
- Selecting and nudging clips
- Using dupe-detection markers
- Copying and pasting ranges
- Nesting sequences
- Relinking offline sequences
- Color grading with the Lumetri Deep Color Engine
- Adjusting clip volume
- Automatic syncing with audio waveforms
- Recording multicamera edits
- Adjusting timing and display of captions
- Exporting multiple clips/sequences
You can check out the class here - http://www.lynda.com/course-tutorials/Seeing-effect-interfaces-Audio-Track-Mixer/126763/156298-4.html
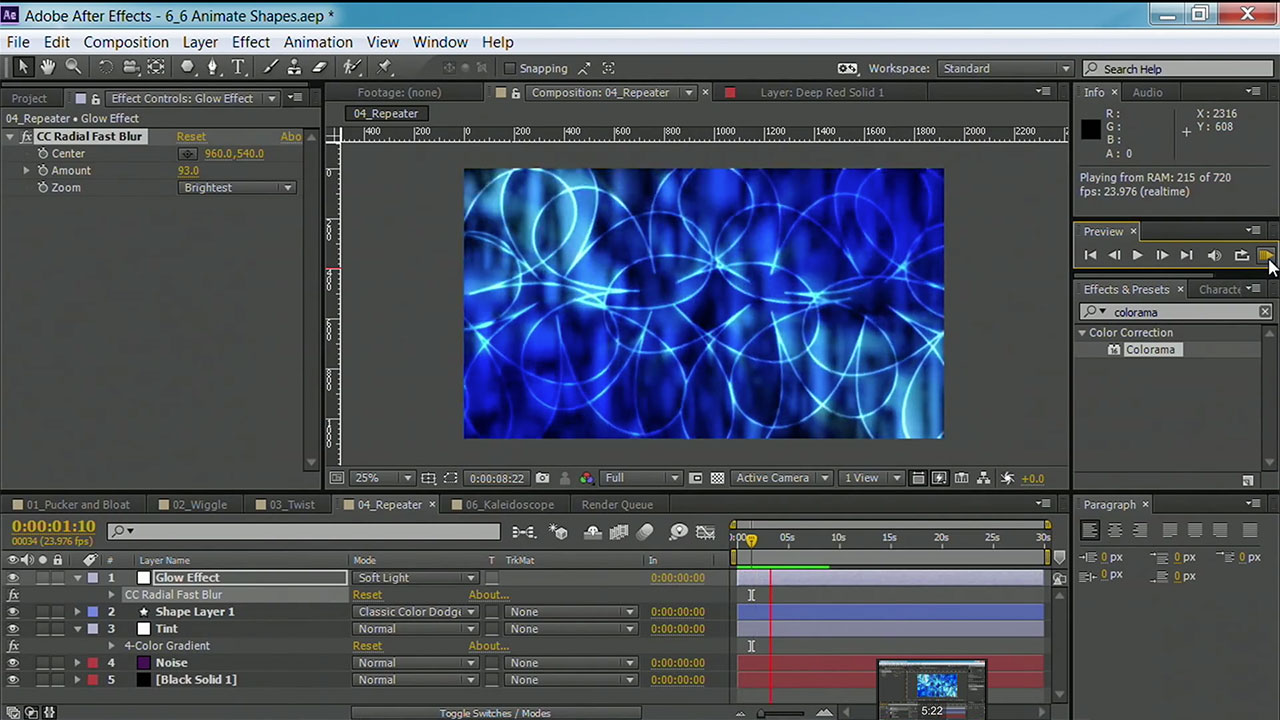
Animating with Shape Layers in After Effects
Find out how to create interesting background layers for your video productions, by animating shape layers in After Effects. This is an easy way to create custom design elements.
This tutorial is a single movie from the Motion Graphics for Video Editors: Creating Backgrounds course by lynda.com author Rich Harrington. The complete course is 2 hours and 32 minutes and shows how to create backgrounds for video projects using Photoshop and After Effects.
Motion Graphics for Video Editors: Creating Backgrounds table of contents:
Copying and Pasting Transitions to Multiple Edit Points in Premiere Pro
Copying and pasting is a feature that has been around for a while and it’s quite convenient. Not only can we copy and paste effects, which we have been able to do for quite some time, but now we have the ability to copy and paste transitions. In this video I will show you how to copy and paste transitions to multiple edit points.
The Improved Effects Workflow: Copying and Pasting Transitions to Multiple Edit Points
To learn more, I’ve created an exciting course called Premiere Pro: Creative Cloud Updates, for Lynda.com
Adobe Premiere Pro CC has some very exciting new features and updates. It’s important to stay on top of these new features so you can maximize your experience and workflow as you’re in post production. This course is dedicated to the video producers and editors who need to leverage the latest Premiere Pro tools and techniques fast. I will cover all of these new features, which include: a customizable user interface, quality and format improvements like the enhanced Mercury Playback Engine, timeline tricks, and media management techniques, and the best audio, multicamera, and closed captioning workflows.
Topics in this course include:
- Switching between audio waveforms and video
- Creating a new sequence
- Integrating scripting with the Story panel
- Working with different camera formats
- Selecting and nudging clips
- Using dupe-detection markers
- Copying and pasting ranges
- Nesting sequences
- Relinking offline sequences
- Color grading with the Lumetri Deep Color Engine
- Adjusting clip volume
- Automatic syncing with audio waveforms
- Recording multicamera edits
- Adjusting timing and display of captions
- Exporting multiple clips/sequences
You can check out the class here - http://www.lynda.com/course-tutorials/Copying-pasting-transitions-multiple-edit-points/126763/156296-4.html
When to Use HDR Exposure Fusion in Photomatix
In this tutorial, learn about the Exposure Fusion processing method in Photomatix Pro, a valuable feature for merging photos with multiple exposures together. This creates a wider dynamic range without an over the top "HDR look." Learn more at lynda.com
This tutorial is a single movie from the Up and Running with Photomatix Pro course by lynda.com author Rich Harrington. The complete course is 3 hours and 32 minutes and shows how to develop HDR photos with Photomatix.
Choosing NTSC or PAL Recording Standard on a GoPro
NTSC and PAL are the recording standards when recording video that you want to be familiar with. Before you start recording, you need to choose which format you'll want to use. You might be shooting for a client in Europe in which case you will want PAL. If your video will be North America based, then you want NTSC. In this course you’ll see a color coded map which shows regions that pertain to both NTSC and PAL. I will demo how to select the standard by going into the settings menu in the GoPro.
Setting up the Default Setting: Choosing NTSC or PAL Recording Standard
To learn more, I’ve created an exciting new course called, Shooting with a GoPro Hero: Fundamentals for Lynda.com http://www.lynda.com/GoPro-tutorials/Choosing-NTSC-PAL-recording-standards/160403/162052-4.html
Got a GoPro? Nowadays most people either own one or have shot with one before. This course covers all of the essential skills to get you up and running to shoot with the GoPro cameras. Since we are focusing on the fundamentals, you will learn all of the steps from properly opening the GoPro box to getting it set up to cater to your shooting situation and learning all of the various mounting techniques. Whether you capture stills, video, or even time-lapse photography, you will learn an array of techniques with the GoPro Hero from me in this course. Let’s jump right in as I also share my insights on the different menus and settings so you can get shooting quickly, without fussing over controls. Follow-up courses in this series will examine different creative uses for the GoPro.
Topics in this course include:
- Choosing a GoPro model
- Understanding your GoPro camera's anatomy
- Charging the battery
- Choosing a memory card
- Accessing video and photo shooting modes
- Setting white balance for video
- Shooting in burst or time-lapse mode
- Shooting wirelessly
- Downloading software
- Buying GoPro accessories
You can check out the class here - http://www.lynda.com/GoPro-tutorials/Choosing-NTSC-PAL-recording-standards/160403/162052-4.html