Photography

The Inverse Command

There is a really good trick to using the inverse command effectively in Photoshop.  In certain instances it’s easier to select the area that you don’t want affected and then select the inverse command.  This is a good method to use when you’re working with more simplified backgrounds or bright blue skies.  I’ll walk you through this method using Photoshop.

Refining a Selection: The Inverse Command

To learn more I've created an exciting course called Practical Photoshop Selections with Lynda.com

http://www.lynda.com/Photoshop-tutorials/Inverse-command/147023/157103-4.html

Take charge of Photoshop and make better, more targeted image adjustments with selections—including hard-to-select objects like hair, fuzzy edges, and color ranges. Rich Harrington reveals the importance of precise selections, whether you're masking, changing color and tone, or even storing transparency, and shows you how to make them with the tools in Adobe Photoshop CC. Dive into the Select menu commands and the Marquee, Lasso, and Magic Wand tools, and then learn how to refine your selections with Expand and Contract, Smooth and Feather, Quick Mask, and other controls. Photoshop power users will also enjoy advanced techniques involving the Color Range command and alpha channel selections.

Topics in this course include:

  • What are selections?
  • Creating masks from selections
  • Moving a selection
  • Selecting with the Quick Selection tool
  • Transforming a selection
  • Using the Refine Edge command
  • Selecting a color or tonal range throughout the image
  • Making a selection with the Pen tool
  • Saving a selection as an alpha channel
  • Creating a selection from multiple channels with the Calculations command

You can check out the class here - http://www.lynda.com/Photoshop-tutorials/Inverse-command/147023/157103-4.html

Adjusting the Camera Settings with the CamRanger on a Laptop

The CamRanger is a stand-alone device which creates a WIFI network that you’re wireless device can connect to.  Once your camera and computer are tethered, it’s time to take some test shots and play with the camera settings.  The great thing is as you're test shooting, you can view the photos on your laptop at one hundred percent and check focus and other technical elements.  In this course we’ll do some test shooting and go through settings in the camera with it already tethered to the laptop.

Shooting Wireless with a CamRanger: Adjusting the Camera Settings with the CamRanger on a Laptop

To learn more, I’ve created an exciting course called Tethered Shooting Fundamentals, for Lynda.com

http://www.lynda.com/Photography-Cameras-Gear-tutorials/Adjusting-camera-settings-CamRanger-laptop/145427/161156-4.html

There are many advantages to tethered shooting. It allows you to get instant feedback on the subject you’re shooting, at one hundred percent.  You can check things like exposure and focus, on an external device that is connected through your camera.  You can also gain greater control over your in-camera adjustments and get a more accurate picture of your lighting and setup. In this course, I’ll introduce the tethered shooting workflow and demonstrate how to connect your camera to a computer, an external monitor, and even an iPad or mobile device. We’ll review the shooting environment, build the tethered station, software solutions for tethering, and wireless shooting with a CamRanger or GoPro camera. These techniques work well both in the studio and in the field, so you'll be prepared for all tethered shooting scenarios.  We’ll do a studio set up demo and also do a set up in the field so you can get a sense of both workflows in two different environments.

Topics in this course include:

  • The benefits and drawbacks of tethered shooting
  • Creating a stable platform
  • Tethering the camera
  • Building a tethered station
  • Tethering with Lightroom, Aperture, and more
  • Choosing a wireless memory card
  • Connecting a CamRanger
  • Shooting with a GoPro

You can check out the class here - http://www.lynda.com/Photography-Cameras-Gear-tutorials/Adjusting-camera-settings-CamRanger-laptop/145427/161156-4.html


Keeping Data Mirrored on two Devices when Shooting

It’s good to have a healthy paranoia about backing up footage.  It’s a best practice to have three backups on two different devices with one in a completely separate location.  In this course, you will learn some good habits to follow when backing up and then benefits that come with tethering.

Software Solutions for Tethering: Keeping Data Mirrored on two Devices

To learn more, I’ve created an exciting course called Tethered Shooting Fundamentals, for Lynda.com

http://www.lynda.com/Photography-Cameras-Gear-tutorials/Keeping-data-mirrored-two-devices/145427/161147-4.html

There are many advantages to tethered shooting. It allows you to get instant feedback on the subject you’re shooting, at one hundred percent.  You can check things like exposure and focus, on an external device that is connected through your camera.  You can also gain greater control over your in-camera adjustments and get a more accurate picture of your lighting and setup. In this course, I’ll introduce the tethered shooting workflow and demonstrate how to connect your camera to a computer, an external monitor, and even an iPad or mobile device. We’ll review the shooting environment, build the tethered station, software solutions for tethering, and wireless shooting with a CamRanger or GoPro camera. These techniques work well both in the studio and in the field, so you'll be prepared for all tethered shooting scenarios.  We’ll do a studio set up demo and also do a set up in the field so you can get a sense of both workflows in two different environments.

Topics in this course include:

  • The benefits and drawbacks of tethered shooting
  • Creating a stable platform
  • Tethering the camera
  • Building a tethered station
  • Tethering with Lightroom, Aperture, and more
  • Choosing a wireless memory card
  • Connecting a CamRanger
  • Shooting with a GoPro

You can check out the class here - http://www.lynda.com/Photography-Cameras-Gear-tutorials/Keeping-data-mirrored-two-devices/145427/161147-4.html

Connection Options for Tethered Shooting

Most likely with the digital camera you own, there will be a few options for tethered connections.  In this course, I’ll walk through some of the more common connection types.  We’ll discuss both wired and wireless options as well.  Keep in mind that with the convenience of using a wireless connection comes a slower speed. If you can achieve hard wired, it will be faster but with most of us in the field a lot, a wireless option is preferred, though it just might be a little slower.

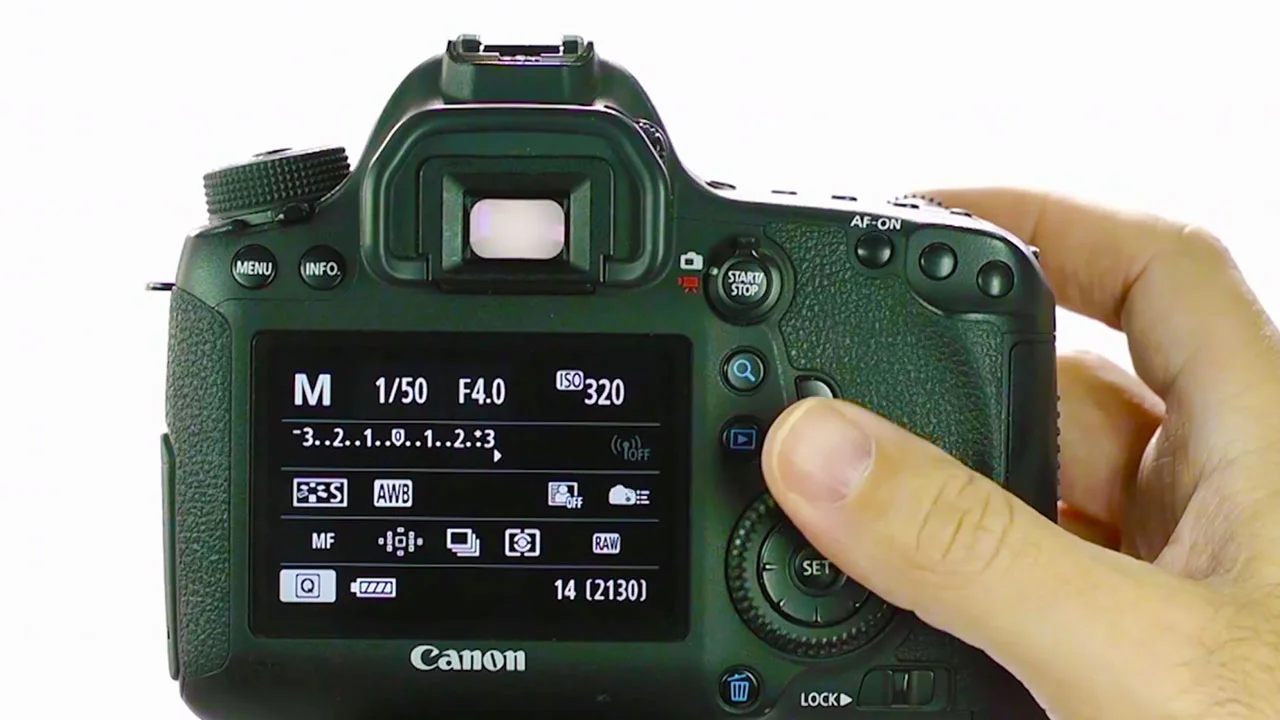
Tethering the Camera: Connection Options

To learn more, I’ve created an exciting course called Tethered Shooting Fundamentals, for Lynda.com

http://www.lynda.com/Photography-Cameras-Gear-tutorials/Connection-options/145427/161129-4.html

There are many advantages to tethered shooting. It allows you to get instant feedback on the subject you’re shooting, at one hundred percent.  You can check things like exposure and focus, on an external device that is connected through your camera.  You can also gain greater control over your in-camera adjustments and get a more accurate picture of your lighting and setup. In this course, I’ll introduce the tethered shooting workflow and demonstrate how to connect your camera to a computer, an external monitor, and even an iPad or mobile device. We’ll review the shooting environment, build the tethered station, software solutions for tethering, and wireless shooting with a CamRanger or GoPro camera. These techniques work well both in the studio and in the field, so you'll be prepared for all tethered shooting scenarios.  We’ll do a studio set up demo and also do a set up in the field so you can get a sense of both workflows in two different environments.

Topics in this course include:

  • The benefits and drawbacks of tethered shooting
  • Creating a stable platform
  • Tethering the camera
  • Building a tethered station
  • Tethering with Lightroom, Aperture, and more
  • Choosing a wireless memory card
  • Connecting a CamRanger
  • Shooting with a GoPro

You can check out the class here - http://www.lynda.com/Photography-Cameras-Gear-tutorials/Connection-options/145427/161129-4.html